Edit and manage a user account
You can edit and manage many aspects of a user account. This section describes how to:
- Edit a user account
- Edit a user's roles
- Change a user's password
- Disable or Enable a user
- Delete a user
- User's activities
- Creating custom user fields
Editing a user account
To edit a user's account information, log in to your Penzle account, and perform the following steps:
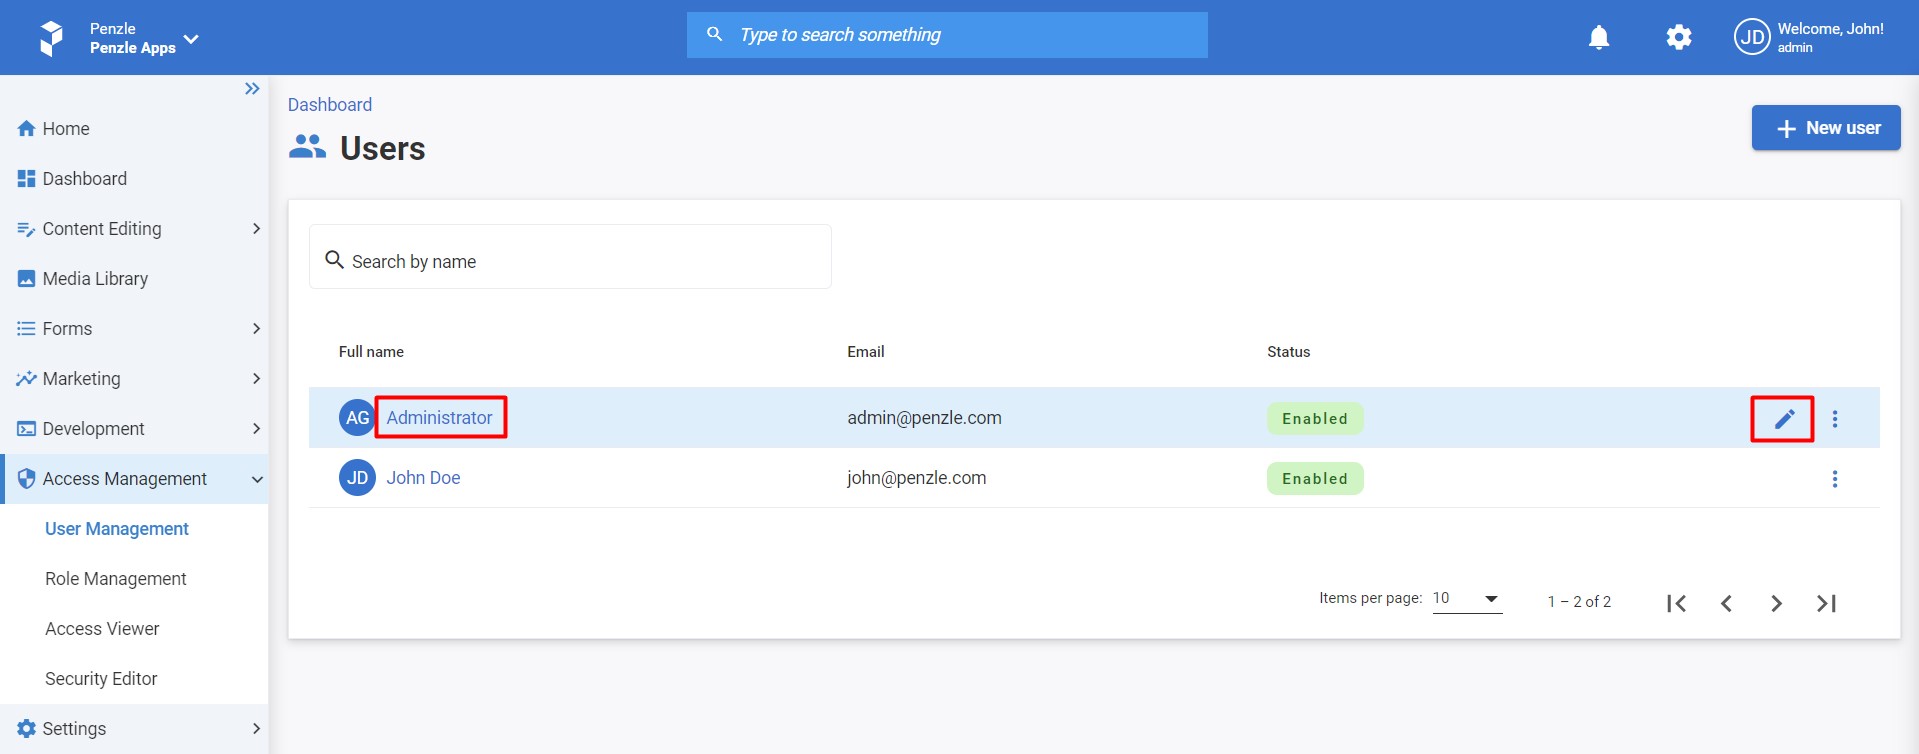
- Go to Access Management > User Management > Users to display the View Users screen.
- Click the Username of the user you want to edit or the Edit icon. The User Details screen appears.
- Edit the following information about the user. A red asterisk (*) next to a field name indicates that the field is required and cannot be blank.
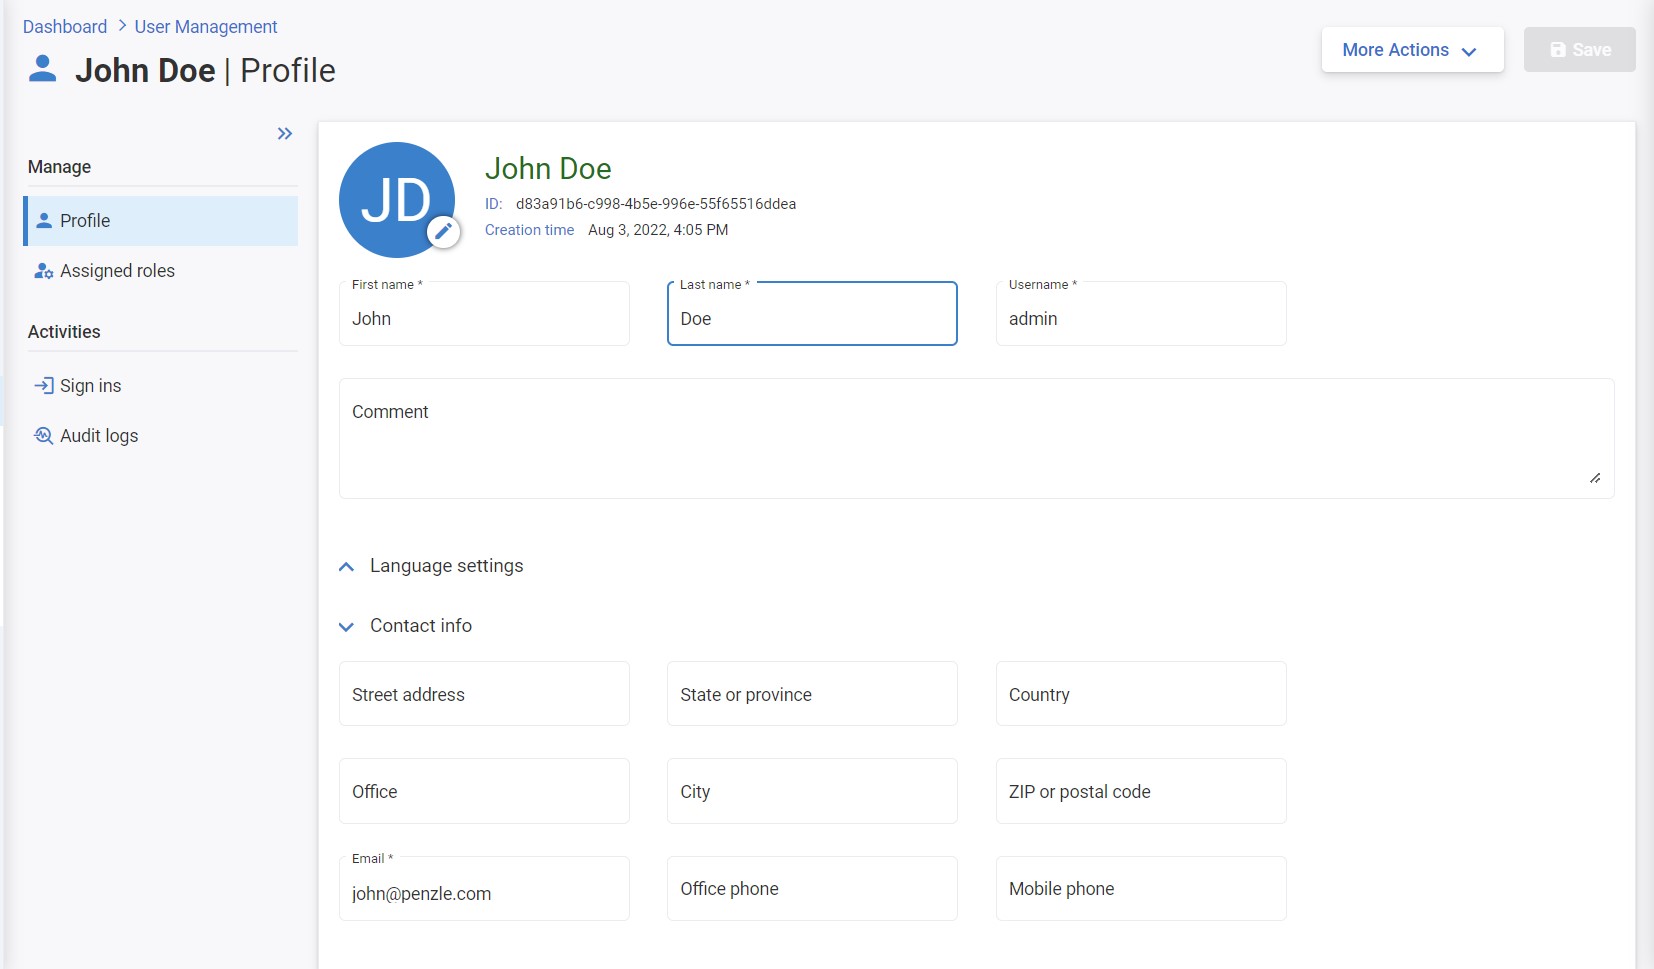
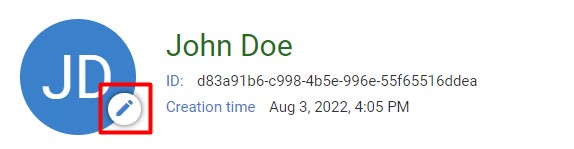
- Avatar - An image or icon to represent you in the system. Click on the Edit icon to upload an image.
- Username - The user's user name. By default, it must be unique across all projects in the system.
- First name - The first name of the user.
- Last name - The last name of the user.
- Comment - Relevant comments for the user.
- Client language - The user's preferred language for viewing Penzle screens and messages.
- Default content language - The user's preferred language for content editing whenever a drop-down list of languages appears within Penzle. This field does not restrict a user from working with multiple language content.
- Street address - User's street address.
- State or province - User's state or province.
- Country - User's country.
- Office - User's office.
- City - User's city.
- ZIP or postal code - User's ZIP or postal code.
- Email - User's email address.
- Office phone - User's office phone.
- Mobile phone - User's mobile phone.
- Avatar - An image or icon to represent you in the system. Click on the Edit icon to upload an image.
- Click Save to validate the information that you have entered.
Editing user roles
To assign a user roles, log in to your Penzle account, and perform the following steps:
- Go to Access Management > User Management > Users to display the View Users screen.
- Click the Username of the user you want to edit or the Edit icon. The User Details screen appears.
- Click the Assigned roles tab of the left navigation bar and click the + Add assignments button.
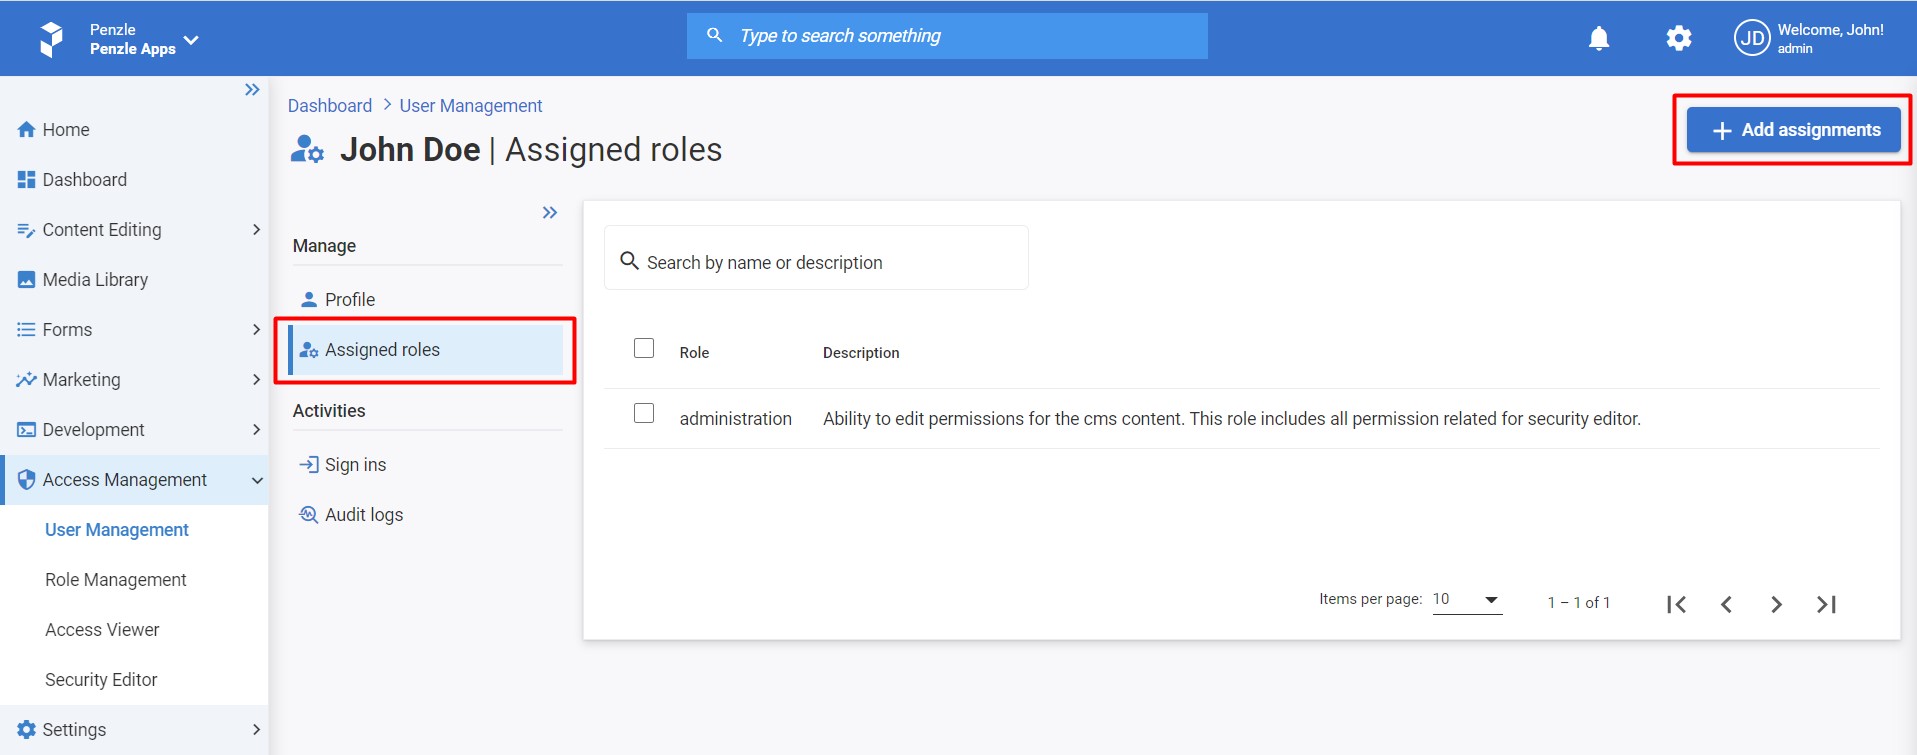
- Select the roles from the modal.
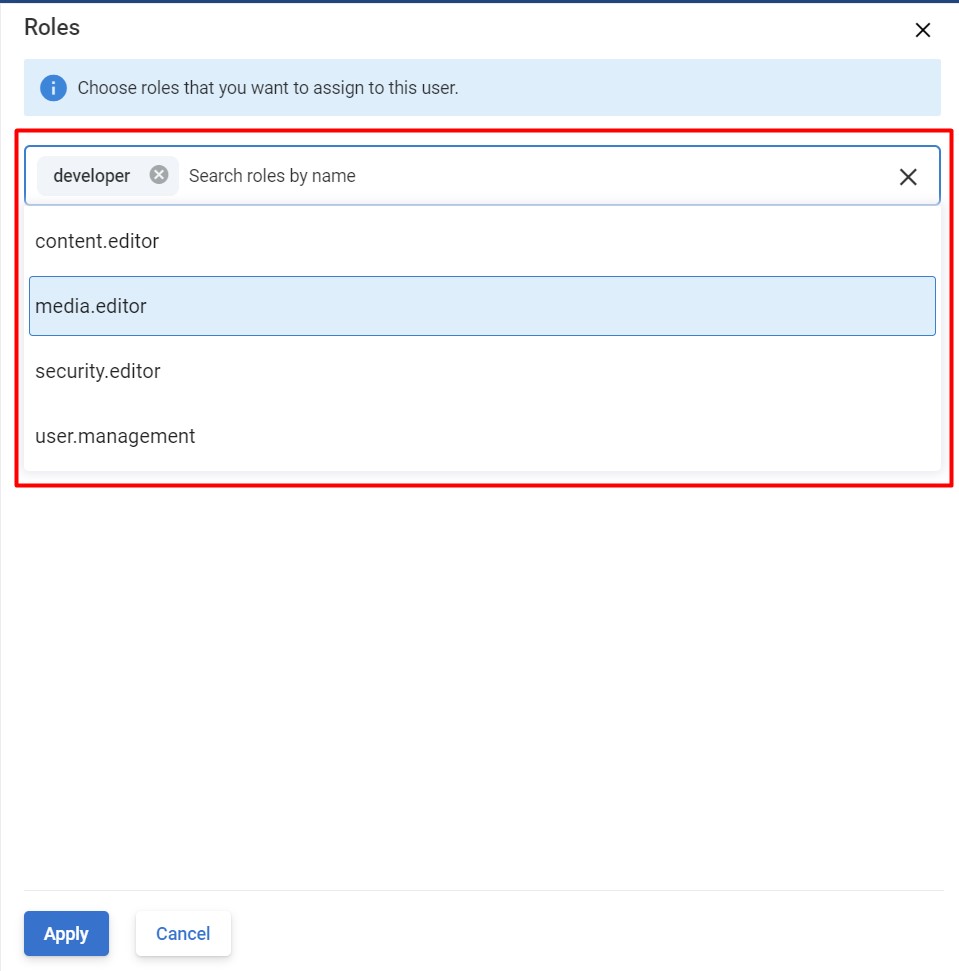
- Click Apply
Removing user roles
When you open the Assigned roles page, any role assigned to a user can be deleted by clicking on its Delete icon. 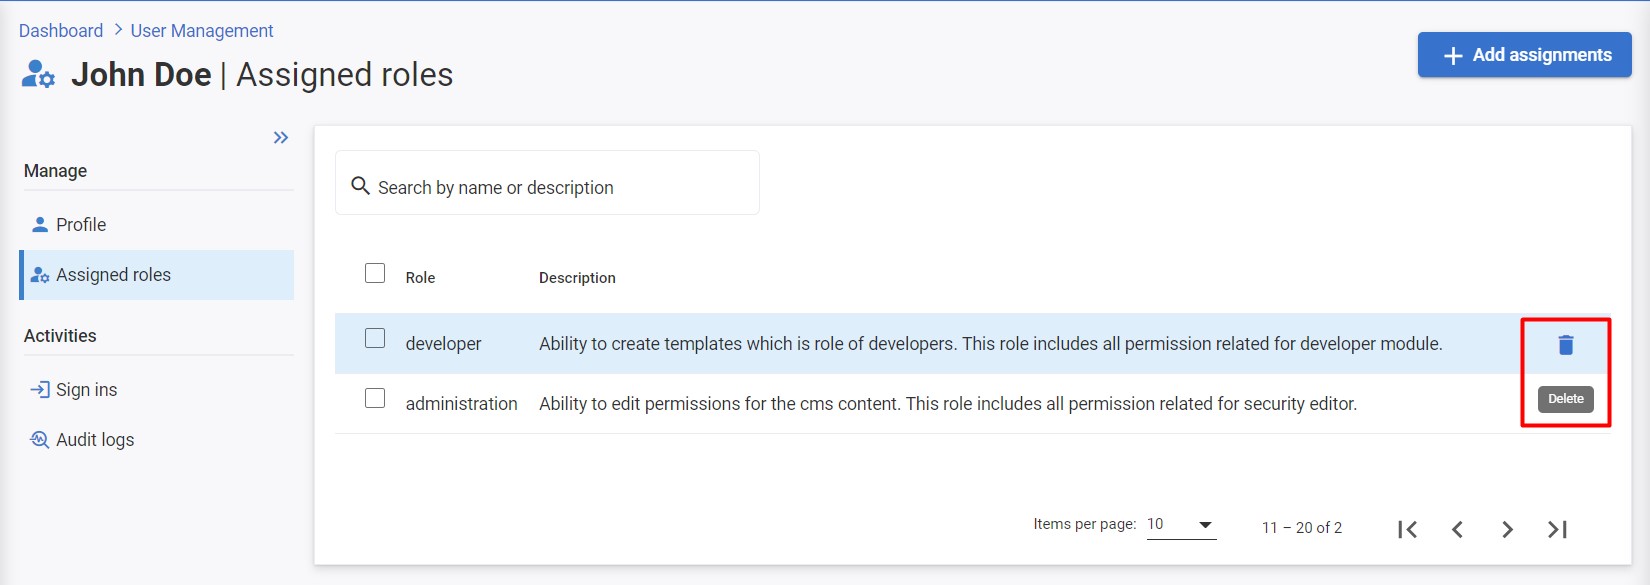
Changing user passwords
A security administrator can change a user's password.
To change a user's password:
- Go to Access Management > User Management > Users and click the relevant user.
- In the Change Password modal, in the Current Password field, enter the current password, and then enter and confirm the new password.
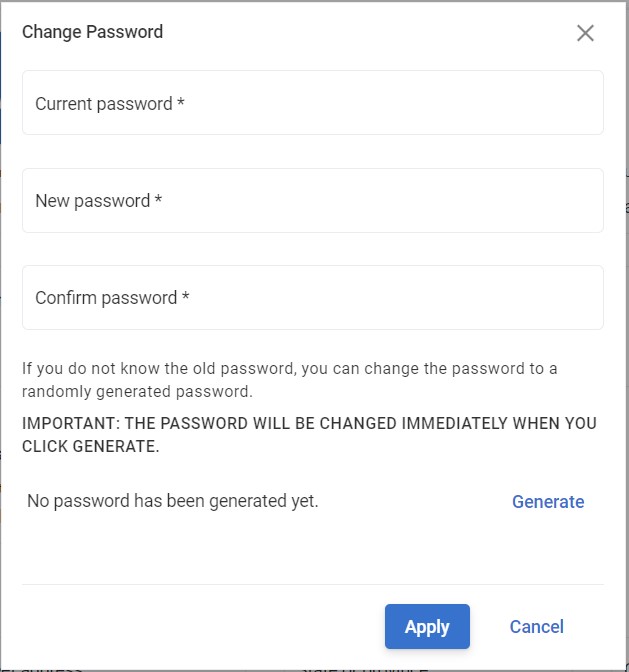
- If you do not know the old password, you can randomly generate a new password.
- To change the user’s password, click Generate.
Warning
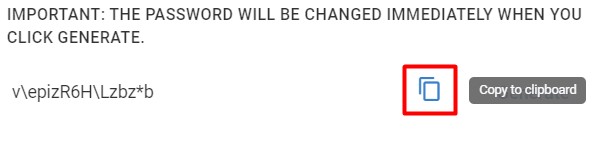
The user's current password becomes invalid once the new password is generated.
- Click the Copy to clipboard button and copy the generated password to the relevant user.
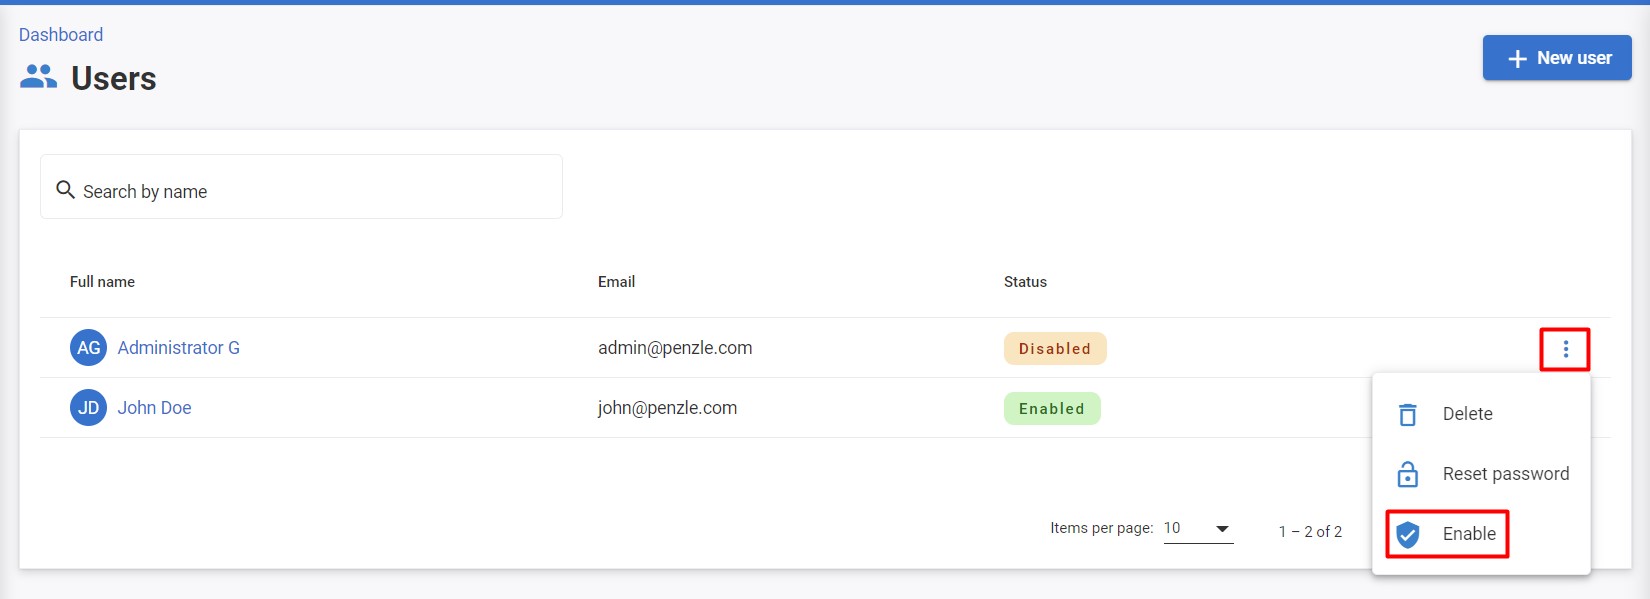
Disabling or enabling a user
In certain situations, a security administrator might need to prevent users from accessing their system. For example, if someone is on extended leave, you can easily disable this user. To disable a user, perform the following steps:
- Go to User Management, select the relevant user and click the More Actions button.
- To disable a user, click Disable. To enable the user again, click Enable.
Deleting a user
A user with the necessary permissions can delete a user from the system. To delete a user, perform the following steps:
- Go to User Management, select the relevant user and click the More Actions button that appears at the extreme right.
- Click on the Delete icon (trash bin).
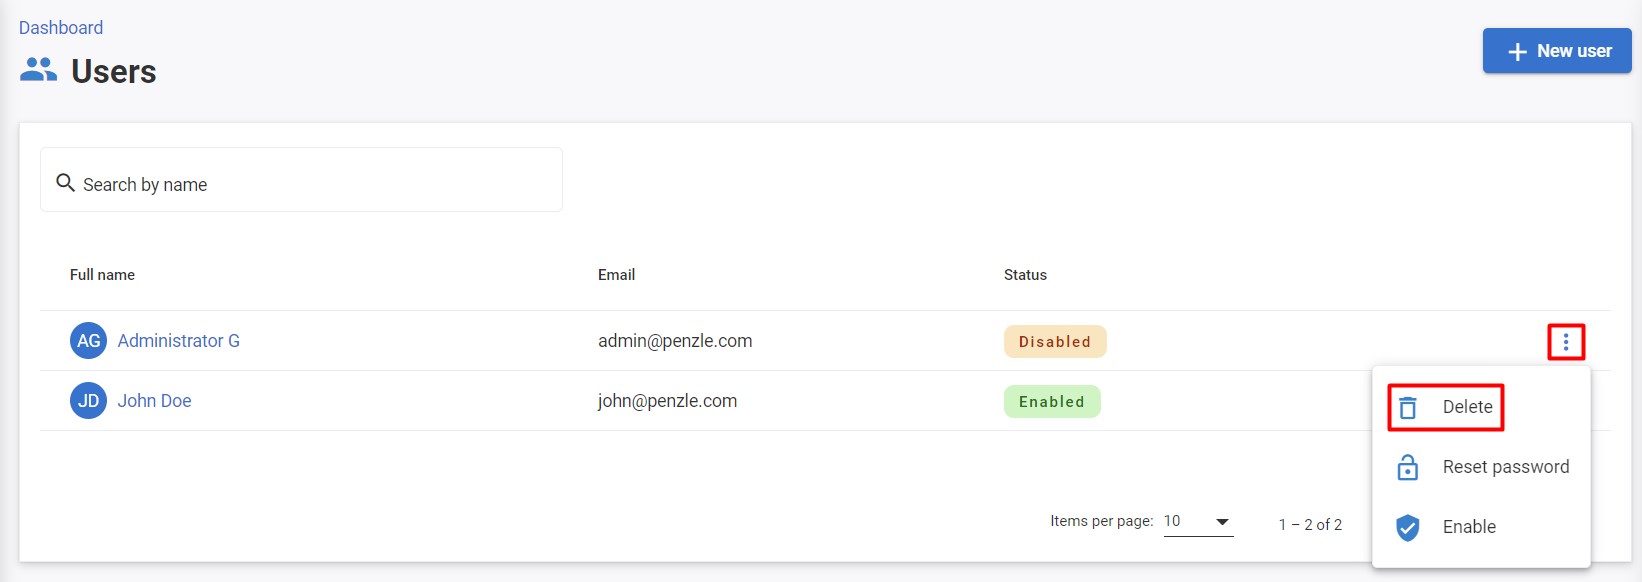
- Confirm the Delete action.
User activities
Activities represent actions that your users perform. For example, the system logs activities when users sign in. You can create your own activities using the API.
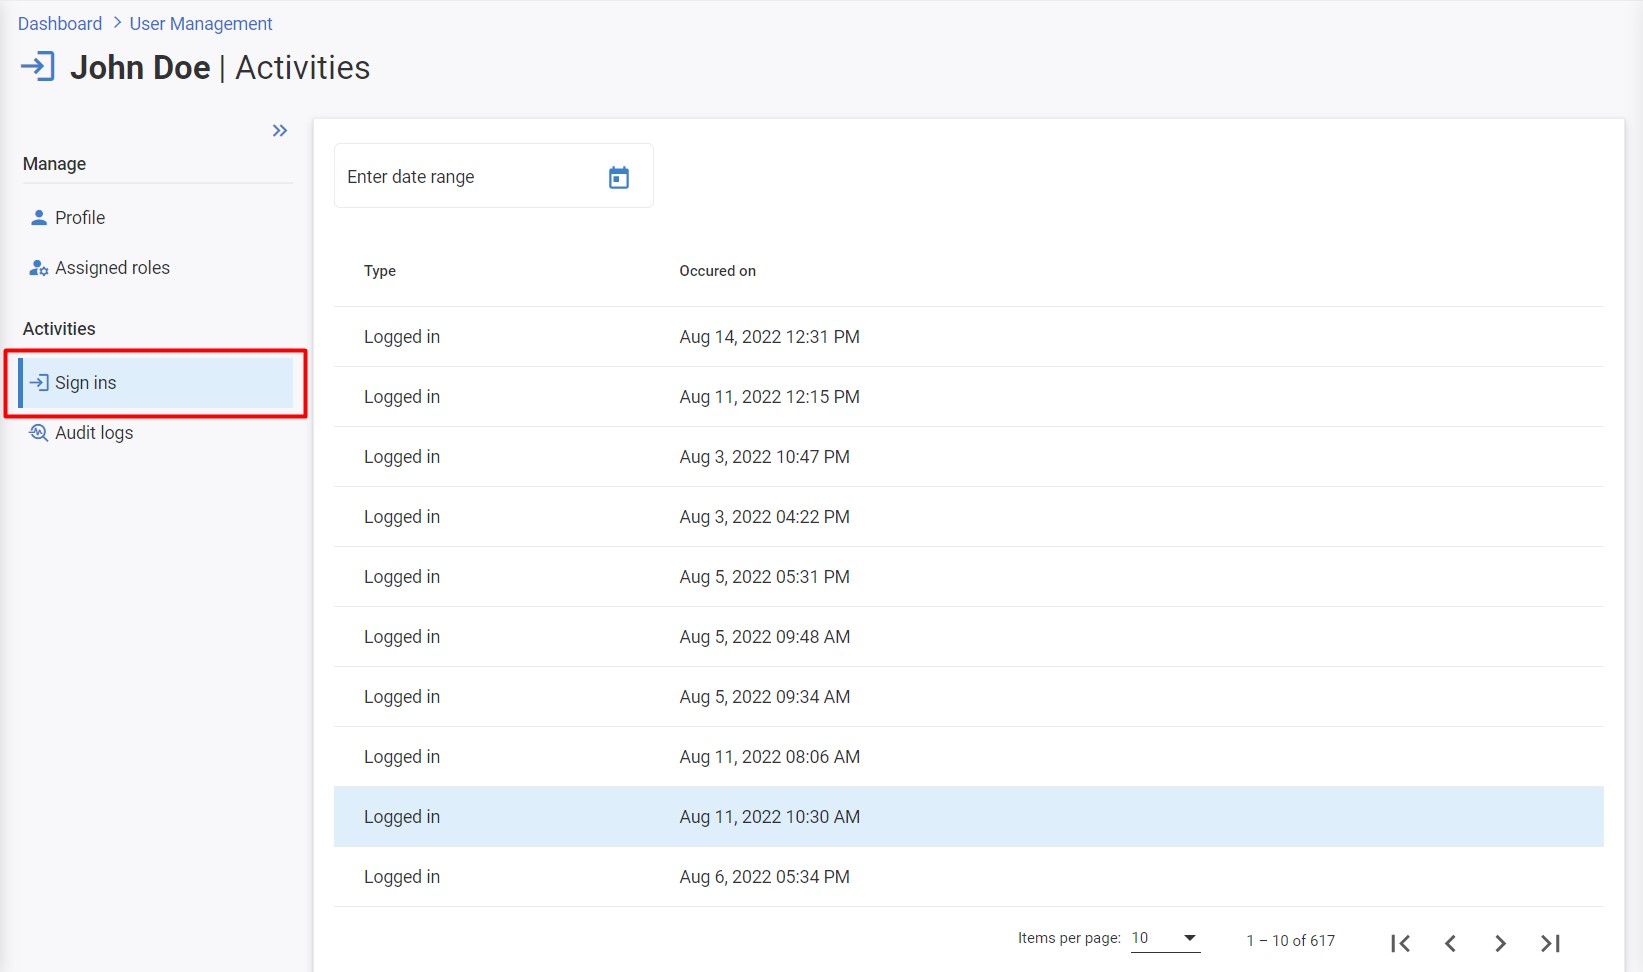
Sign-in reports
The Sign-ins view includes all user sign-ins. To view user sign-ins, log in to your Penzle account and perform the following steps:
- Go to Access Management > User Management > Users to display the View Users screen.
- Click the Username of the user you want to edit or the Edit icon. The User Details screen appears.
- Click the Sign ins tab of the left navigation bar.
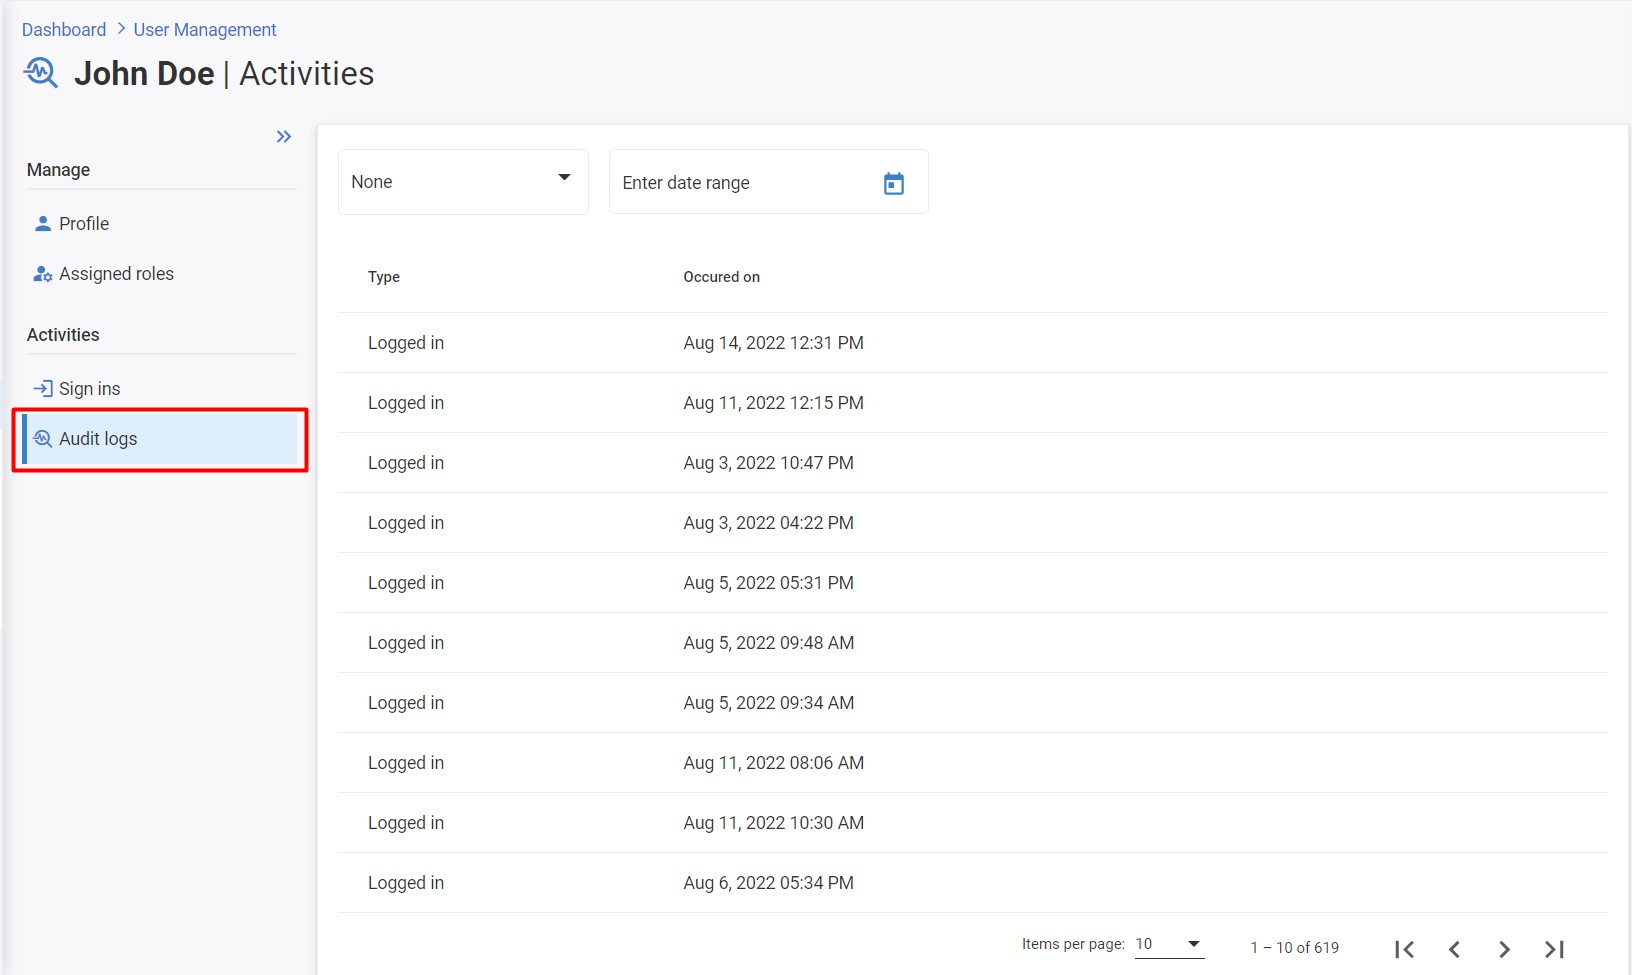
Audit logs
To view user activities, log in to your Penzle account and perform the following steps:
- Go to Access Management > User Management > Users to display the View Users screen.
- Click the Username of the user you want to edit or the Edit icon. The User Details screen appears.
- Click the Audit logs tab of the left navigation bar.
Creating custom user fields
Custom User Fields allow the creation of custom fields that collect user information in addition to the default Penzle fields. Examples include employee position, department, and IP address. Once created, custom fields appear on the user details screen.
Viewing custom fields
To view user custom fields, go to Settings > Configuration and click the User Custom fields tab of the left navigation bar. 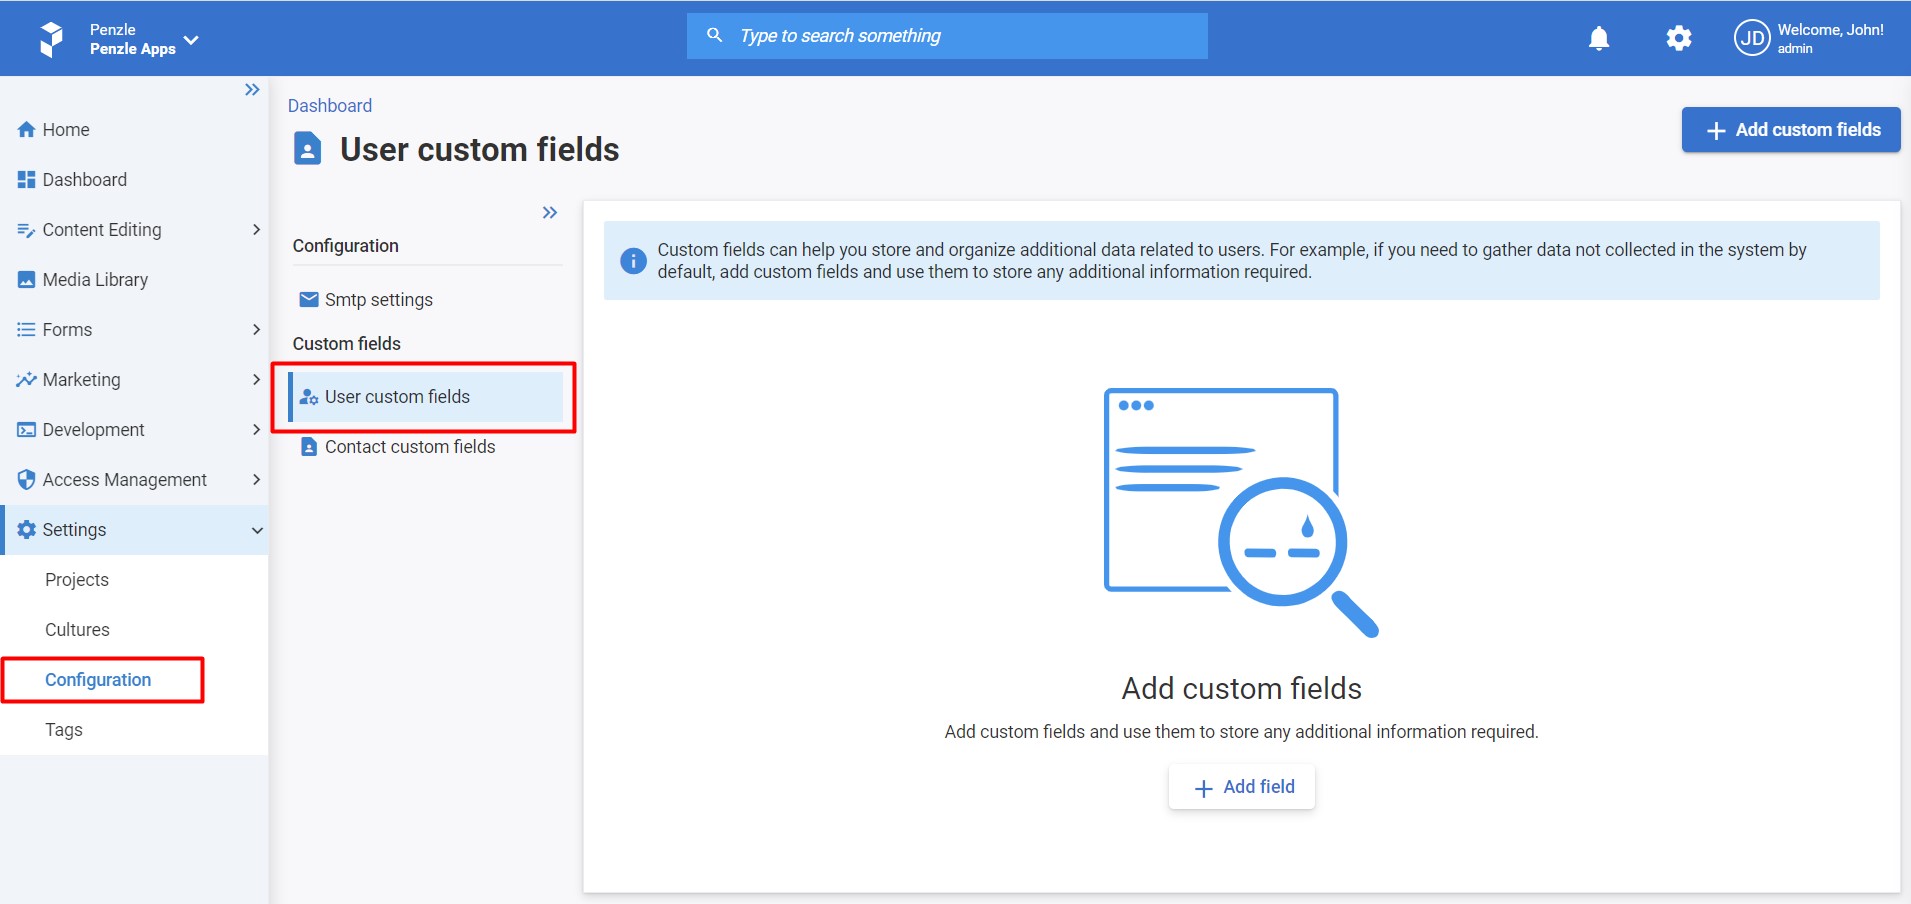
Adding a custom user field
- Go to Settings > Configuration and click the User Custom fields tab of the left navigation bar.
- Click the + Add field button.

- Create new fields based on your requirements using the form field editor.
- Click Save.
You have added custom fields for the user. When editing users in the Users application, added custom fields are displayed on a separate Custom fields tab in the administration interface.
Managing a custom user field
- Go to Settings > Configuration and click the User Custom fields tab of the left navigation bar.
- Click the Edit button.
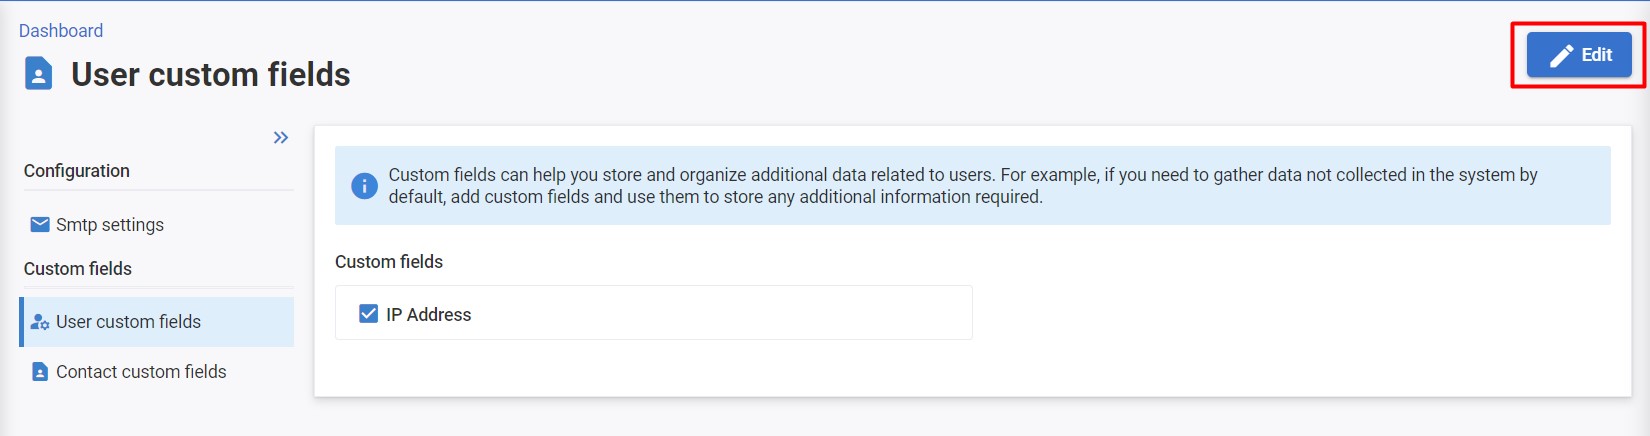
- Using the form field editor you can edit and delete a custom field.
- When you save changes to a custom user property, the changes affect all users.
Warning
If you delete a custom user field, it is removed from all users. Information that was collected for that field is lost.