Creating a user
To create a user, log in to your Penzle account, and perform the following steps:
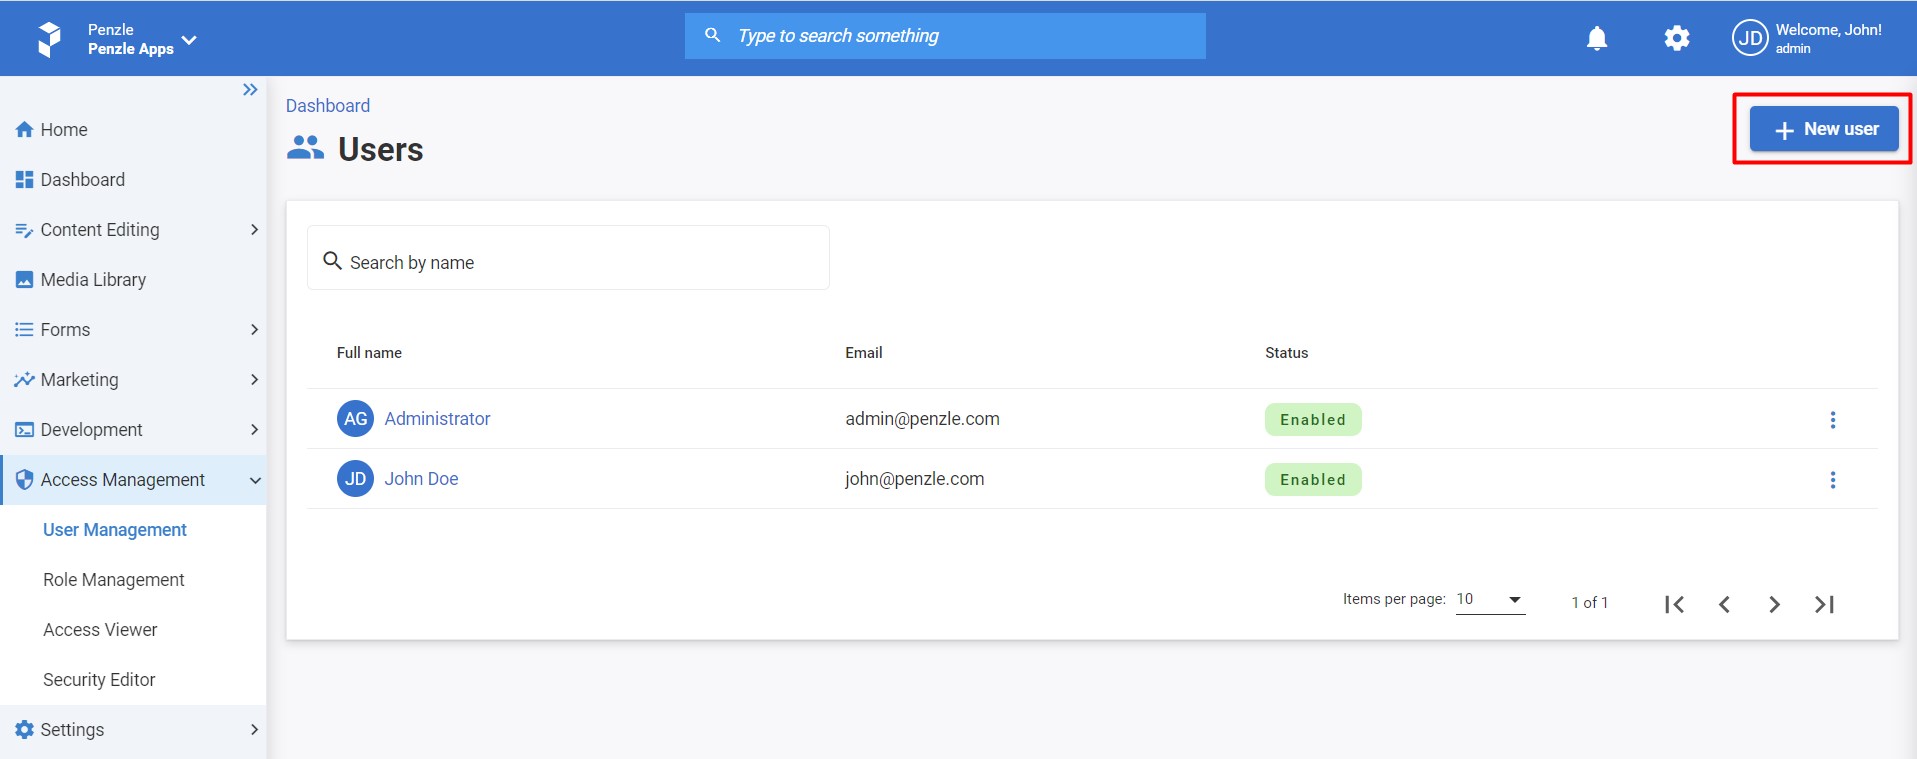
- Go to Access Management > User Management > Users to display the View Users screen.
- Click + New user. The New User to the System screen appears.
- Enter the following information about the user. A red asterisk (*) next to a field name indicates that the field is required and cannot be blank.
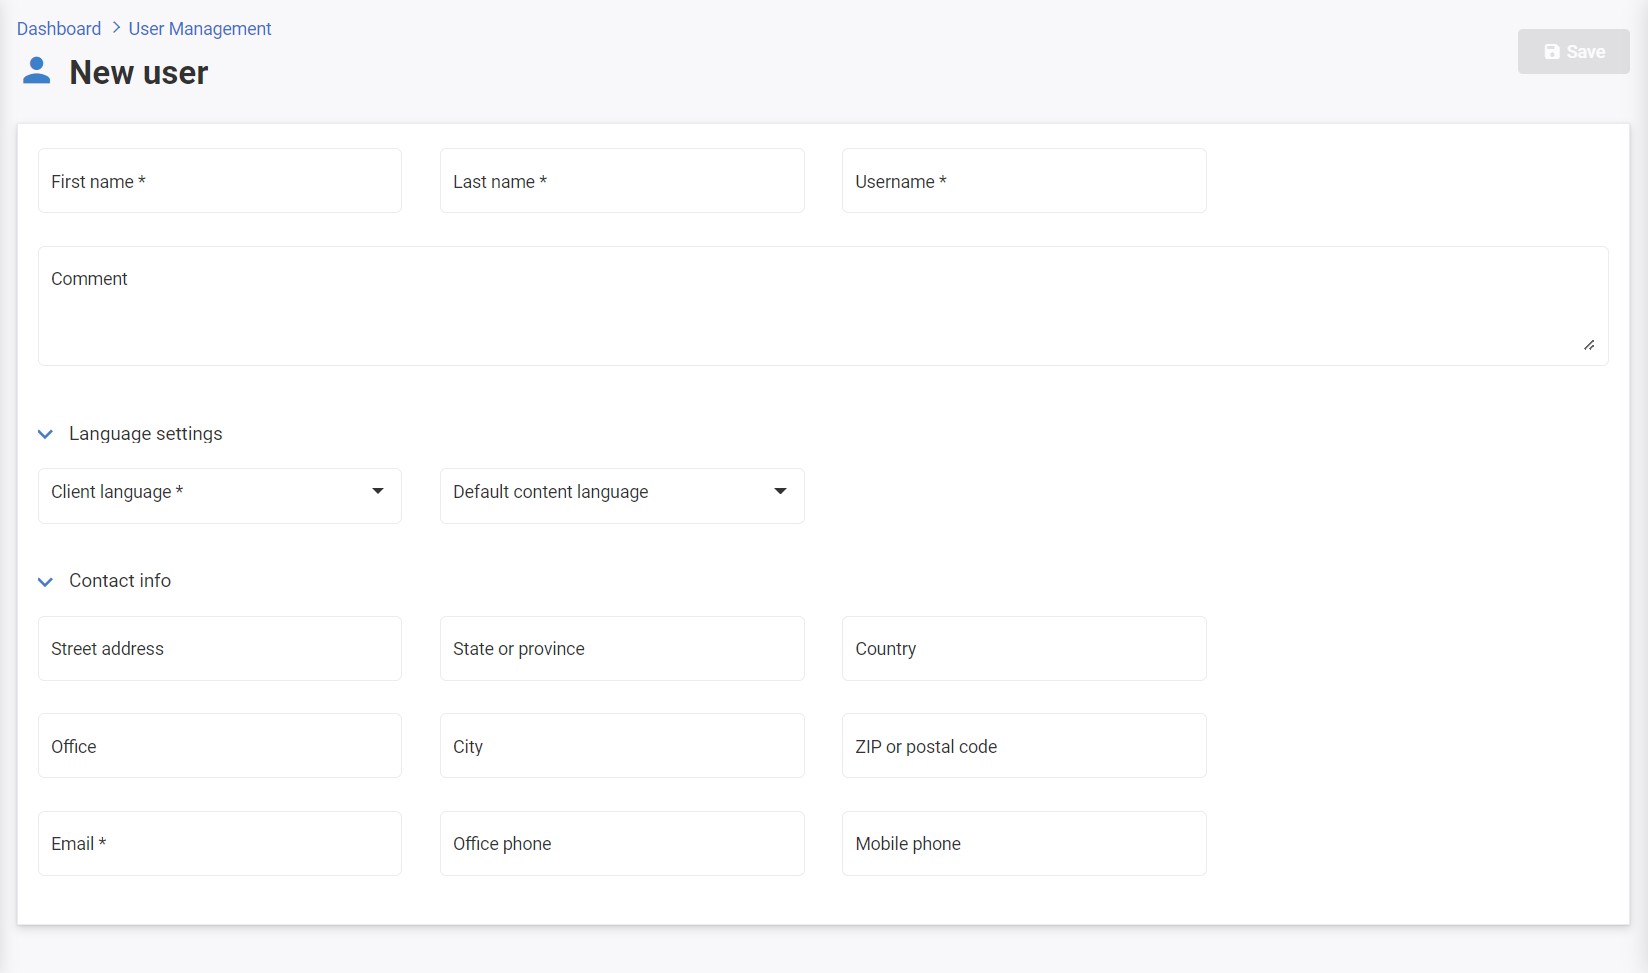
- Username - The user's user name. By default, it must be unique across all projects in the system.
- First name - The first name of the user.
- Last name - The last name of the user.
- Comment - Relevant comments for the user.
- Client language - The user's preferred language for viewing Penzle screens and messages.
- Default content language - The user's preferred language for content editing whenever a drop-down list of languages appears within Penzle. This field does not restrict a user from working with multiple language content.
- Street address - User's street address.
- State or province - User's state or province.
- Country - User's country.
- Office - User's office.
- City - User's city.
- ZIP or postal code - User's ZIP or postal code.
- Email - User's email address. A notification email with profile details and password setup is sent to this address.
- Office phone - User's office phone.
- Mobile phone - User's mobile phone.
- Click Save to validate the information that you have entered.
You must assign the user to one or more roles after creating the user. These roles determine the user's access rights and, in turn, which Penzle modules and actions the user can access.