Multiple environments
Project environments are entities within a project that enable the creation, maintenance, and isolation of multiple versions of project-specific data.
Every project, by default, has one environment, known as the master. It is also possible to create multiple sandbox environments. Initial sandbox environments are exact replicas of the master environment. Data templates, content, and media make up environments. Any of the aforementioned entities may be modified in any environment, including the master, without affecting or changing the data in any other environment.
Master and sandbox environments
Master environment is used as a production environment to deliver content to the end users. Sandbox environments are excellent choices when trying out new features or updating existing ones without the fear of breaking anything for real. Sandbox environments can be split between development and testing. The former is more tailored toward software engineers looking for creative freedom in their projects while still getting real-world feedback on how they're doing compared against the goals set out before starting work. This type may have less rigorous requirements than those imposed by employers or clients who want perfection right away without any leeway.
Applying changes from sandbox environments to master
When creating a new environment, all the data from the source environment is inherited, including data templates, entries, assets, languages, webhooks, workflows, and tokens. However, when you modify the child environment, the parent environment is not affected.
You can concurrently work on content maintained by each environment without affecting the others. Developers can update data templates without affecting website content, while content managers can simultaneously continue creating website content.
Developers can create a development environment directly from the master. The modifications are then implemented in the QA environment. This makes it possible for QA engineers to test the changes both manually and automatically. If the tests pass, the changes are then applied to staging, allowing for final testing in an environment that closely resembles production.
Environments synchronize your code with your data templates. You do not need to make any modifications to your code. You only need to update your environments and publish the content to staging or development. If everything appears to be in order, you can proceed to publish the content to production.
Creating an environment
Note
The master environment is the default environment for each project.
To create an environment, log in to your Penzle account, and perform the following steps:
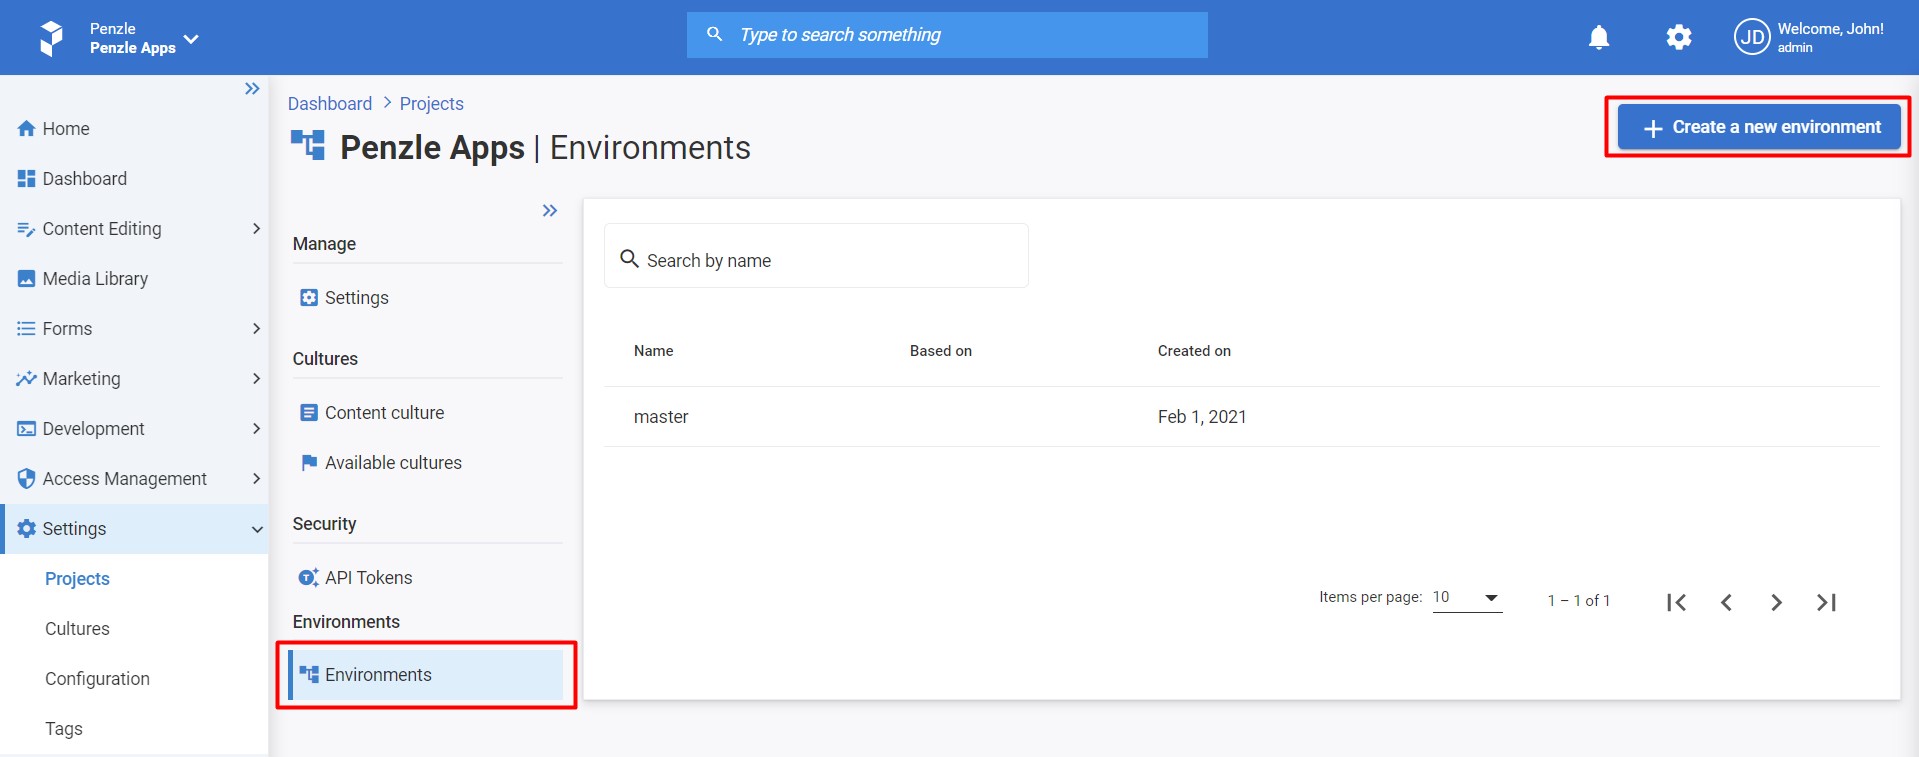
- Go to Settings > Projects to display the View Projects screen.
- Click the Name of the project you want to edit.
- Click on the Environments from the left navigation bar.
- Click +Create a new environment. A A new environment wizard opens.
- Enter the following information about the environment.
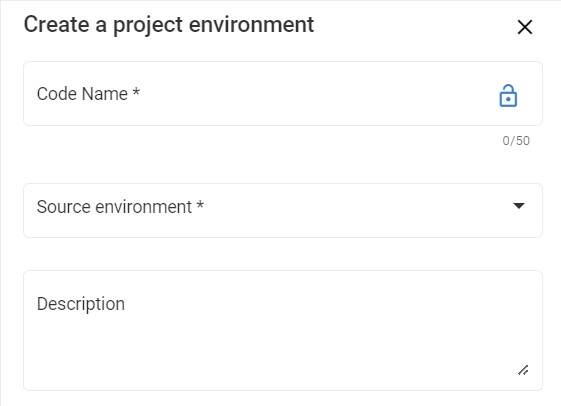
- Code Name - The unique ID for the environment, such as "staging" or "development". By default, it must be unique across all projects in the system.
- Source Environment - Select an environment from the dropdown from which this new environment should inherit data.
- Description - Description of the environment. This is an optional step.
- Click Apply.
Note
Your first child environment will automatically have the master environment as its source.
Deleting an environment
To delete an environment, log in to your Penzle account, and perform the following steps:
- Go to Settings > Projects to display the View Projects screen.
- Click the Name of the project you want to edit.
- Click on the Environments from the left navigation bar.
- Hover over the environment you want to delete, click the Delete icon (Trash bin) that appears at the extreme end.
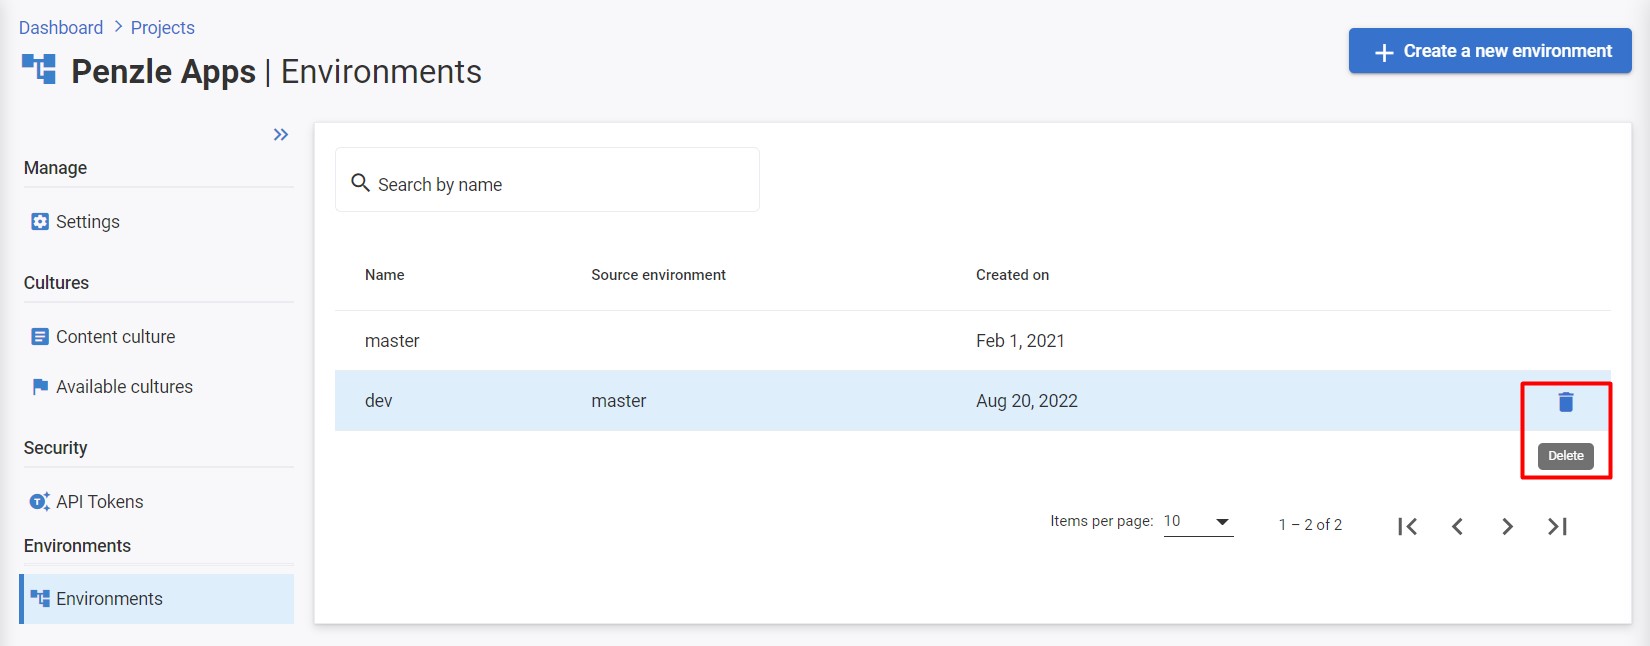
- Confirm the Delete action.
Warning
This is a crucial step, as it permanently deletes your environment and everything in it.
Note
The production environment is a must for any project and can't be deleted.