Working with media
The Media Library is a great way to store all your media files. You can upload images, videos, audio clips, and even documents, so they are always available no matter what device you use. Collectively, these files are called assets.
The Media Library receives a copy of each asset that is uploaded. You can then examine and, if necessary, roll back to a previous version anytime you edit and save the asset. Assets can be uploaded manually within our web app or programmatically using our API.
In the Media Library you can:
- Organize your media files into folders that resemble the content tree and keep them all in one location.
- You can locate media assets quickly by navigating the media tree or using the advanced search feature.
- Apply custom workflows.
- Make every asset versionable.
Opening the Media Library
You can open the Media Library from the home page or left side navigation by clicking the Media Library link. 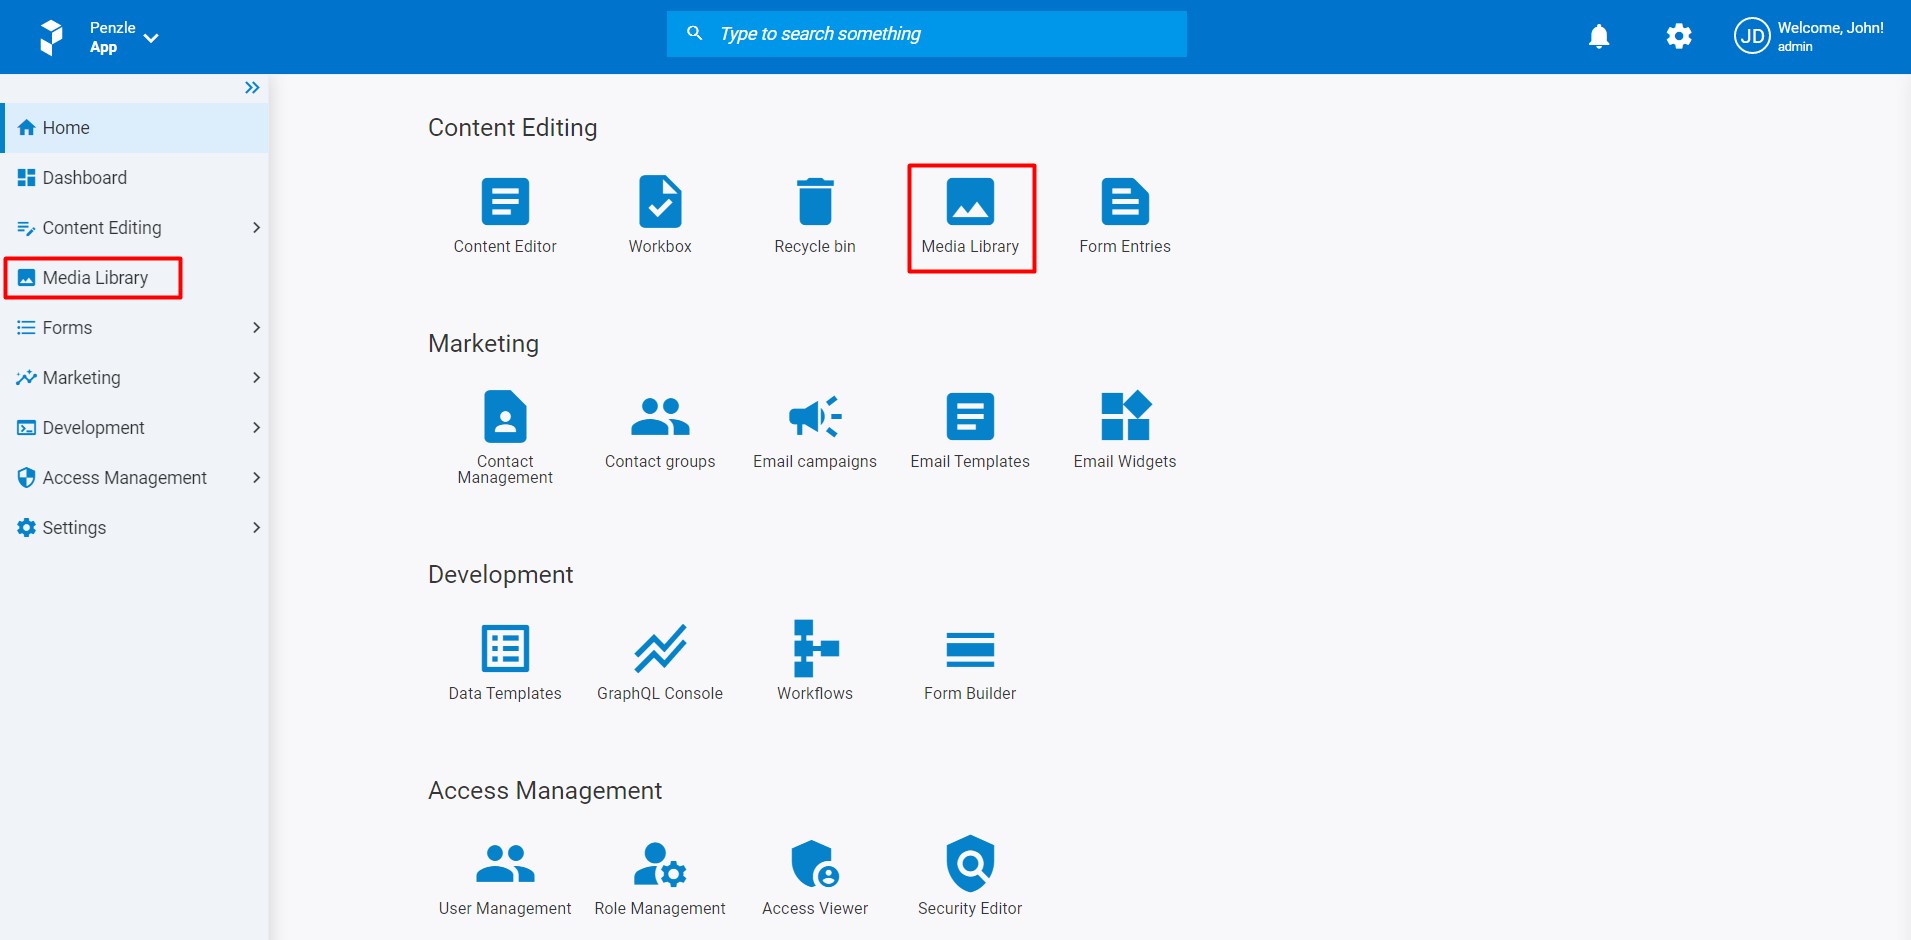
The media tree
Use the media tree or search feature to find media items. Expand folders in your content tree and see all subfolders, then collapse them again if you simply want a view of what's inside each one without having too many opened at once.
To keep your media organized, make sure you store all items in folders with meaningful names. Give each folder an item name that reflects what's inside, like "Home Videos" for all those home movie clips! Mirroring the folder structure on your app will allow for more efficiency when searching through them later.
Tip
We advise you to add a title after adding assets to the media library. This makes it simpler to search and filter for particular assets.
In this section
- Adding new assets
- Adding multiple assets
- Viewing an asset
- Editing an asset
- Deleting an asset
- Searching the library